Try to use this command
- CODE: SELECT ALL
v-change-user-password
- CODE: SELECT ALL
v-change-user-password admin new_password
v-change-user-passwordv-change-user-password admin new_password


# mount -o exec /dev/cdrom /media/cdrom
# cd /media/cdrom
# ./install
Service
|
Config
|
Log
|
Apache
|
/etc/httpd/conf/httpd.conf
/etc/httpd/conf.d/* /home/$user/conf/web/httpd.conf /home/$user/conf/web/shttpd.conf (ssl) |
/var/log/httpd/access_log
/var/log/httpd/error_log /var/log/httpd/domains/$domain.log /var/log/httpd/domains/$domain.error.log |
PHP
|
/etc/php.ini
/etc/php.d/* |
/var/log/httpd/domains/$domain.error.log
|
Nginx
|
/etc/nginx/nginx.conf
/etc/nginx/conf.d/* /home/$user/conf/web/nginx.conf /home/$user/conf/web/snginx.conf (ssl) |
/var/log/nginx/access.log
/var/log/nginx/error.log /var/log/httpd/domains/$domain.log /var/log/httpd/domains/$domain.error.log |
Named
|
/etc/named.conf
/home/$user/conf/dns/$domain.db |
/var/log/messages
|
Exim
|
/etc/exim/exim.conf
/home/$user/conf/mail/$domain/* |
/var/log/exim/main.log
/var/log/exim/reject.log /var/log/exim/panic.log |
Dovecot
|
/etc/dovecot/dovecot.conf
/etc/dovecot/conf.d/* /etc/dovecot.conf (rhel5/centos5) /home/$user/conf/mail/$domain/passwd |
/var/log/dovecot.log
|
ClamAV
|
/etc/clamd.conf
/etc/freshclam.conf |
/var/log/clamav/clamd.log
/var/log/clamav/freshclam.log /var/log/messages /var/log/exim/main.log |
SpamAssassin
|
/etc/mail/spamassassin/local.cf
|
/var/log/exim/main.log
|
Roundcube
|
/etc/roundcubemail/main.inc.php
/etc/roundcubemail/db.inc.php /etc/httpd/conf.d/roundcubemail.conf |
/var/log/roundcubemail/*
/var/log/httpd/domains/$domain.log /var/log/httpd/domains/$domain.error.log |
MySQL
|
/etc/my.cnf
/root/.my.cnf /usr/local/vesta/conf/mysql.conf |
/var/log/mysqld.log
|
phpMyAdmin
|
/etc/phpMyAdmin/config.inc.php
/etc/httpd/conf.d/phpMyAdmin.conf |
/var/log/httpd/domains/$domain.log
/var/log/httpd/domains/$domain.error.log |
PostgreSQL
|
/var/lib/pgsql/data/postgresql.conf
/var/lib/pgsql/data/pg_hba.conf /usr/local/vesta/conf/pgsql.conf |
/var/lib/pgsql/pgstartup.log
|
phpPgAdmin
|
/etc/phpPgAdmin/config.inc.php
/etc/httpd/conf.d/phpPgAdmin.conf |
/var/log/httpd/domains/$domain.log
/var/log/httpd/domains/$domain.error.log |
Vsftpd
|
/etc/vsftpd/vsftpd.conf
|
/var/log/xferlog
/var/log/messages |
Vesta
|
/usr/local/vesta/conf/vesta.conf
/usr/local/vesta/conf/mysql.conf /usr/local/vesta/conf/pgsql.conf /usr/local/vesta/conf/ftp.backup.conf /usr/local/vesta/conf/dns-cluster.conf /usr/local/vesta/nginx/conf/nginx.conf /usr/local/vesta/php/lib/php.ini /usr/local/vesta/php/etc/php-fpm.conf |
/var/log/vesta/system.log
/var/log/vesta/auth.log /var/log/vesta/nginx-error.log /usr/local/vesta/php/var/log/php-fpm.log |
Service
|
Config
|
Log
|
Apache
|
/etc/apache2/apache2.conf
/etc/httpd/conf.d/* /home/$user/conf/web/apache2.conf /home/$user/conf/web/sapache2.conf (ssl) |
/var/log/apache2/access.log
/var/log/apache2/error.log /var/log/apache2/domains/$domain.log /var/log/apache2/domains/$domain.error.log |
PHP
|
/etc/php5/apache2/php.ini
/etc/php5/conf.d/* |
/var/log/apache2/domains/$domain.error.log
|
Nginx
|
/etc/nginx/nginx.conf
/etc/nginx/conf.d/* /home/$user/conf/web/nginx.conf /home/$user/conf/web/snginx.conf (ssl) |
/var/log/nginx/access.log
/var/log/nginx/error.log /var/log/apache2/domains/$domain.log /var/log/apache2/domains/$domain.error.log |
Named
|
/etc/bind/named.conf
/home/$user/conf/dns/$domain.db |
/var/log/syslog
|
Exim
|
/etc/exim4/exim4.conf.template
/home/$user/conf/mail/$domain/* |
/var/log/exim4/mainlog
/var/log/exim/rejectlog /var/log/exim/paniclog |
Dovecot
|
/etc/dovecot/dovecot.conf
/etc/dovecot/conf.d/* /home/$user/conf/mail/$domain/passwd |
/var/log/dovecot.log
|
ClamAV
|
/etc/clamav/clamd.conf
/etc/clamav/freshclam.conf |
/var/log/clamav/clamav.log
/var/log/clamav/freshclam.log /var/log/exim4/mainlog |
SpamAssassin
|
/etc/spamassassin/local.cf
|
/var/log/exim4/mainlog
|
Roundcube
|
/etc/roundcube/main.inc.php
/etc/roundcube/db.inc.php /etc/apache2/conf.d/roundcube |
/var/log/roundcube/*
/var/log/apache2/domains/$domain.log /var/log/apache2/domains/$domain.error.log |
MySQL
|
/etc/mysql/my.cnf
/root/.my.cnf /usr/local/vesta/conf/mysql.conf |
/var/log/mysql.log
/var/log/mysql/error.log |
phpMyAdmin
|
/etc/phpmyadmin/config.inc.php
/etc/apache2/conf.d/phpmyadmin.conf |
/var/log/apache2/domains/$domain.log
/var/log/apache2/domains/$domain.error.log |
PostgreSQL
|
/etc/postgresql/*/main/postgresql.conf
/etc/postgresql/*/main//pg_hba.conf /usr/local/vesta/conf/pgsql.conf |
/var/log/postgresql/postgresql-*-main.log
|
phpPgAdmin
|
/etc/phppgadmin/config.inc.php
/etc/apache2/conf.d/phppgadmin |
/var/log/apache2/domains/$domain.log
/var/log/apache2/domains/$domain.error.log |
Vsftpd
|
/etc/vsftpd.conf
|
/var/log/xferlog
/var/log/syslog |
Vesta
|
/usr/local/vesta/conf/vesta.conf
/usr/local/vesta/conf/mysql.conf /usr/local/vesta/conf/pgsql.conf /usr/local/vesta/conf/ftp.backup.conf /usr/local/vesta/conf/dns-cluster.conf /usr/local/vesta/nginx/conf/nginx.conf /usr/local/vesta/php/lib/php.ini /usr/local/vesta/php/etc/php-fpm.conf |
/var/log/vesta/system.log
/var/log/vesta/auth.log /var/log/vesta/nginx-error.log /usr/local/vesta/php/var/log/php-fpm.log |
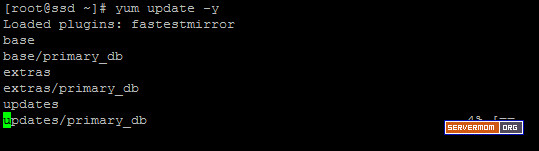
1
| yum update -y |
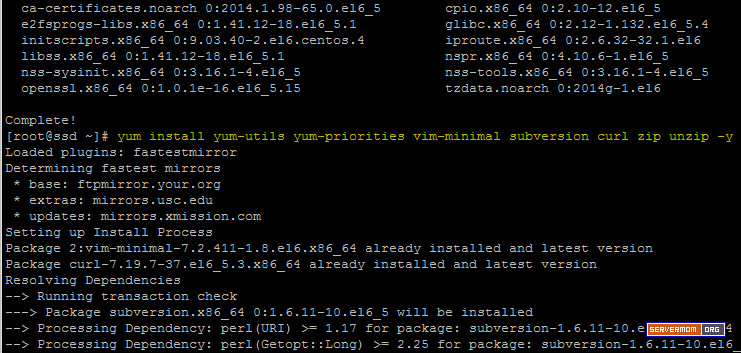
1
| yum install yum-utils yum-priorities vim-minimal subversion curl zip unzip -y |
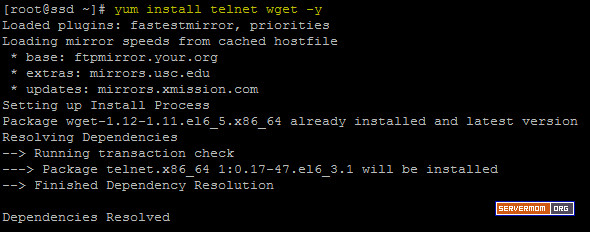
1
| yum install telnet wget -y |
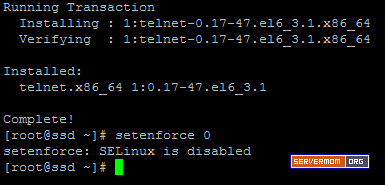
1
| setenforce 0 |
1
| echo 'SELINUX=disabled' > /etc/selinux/config |
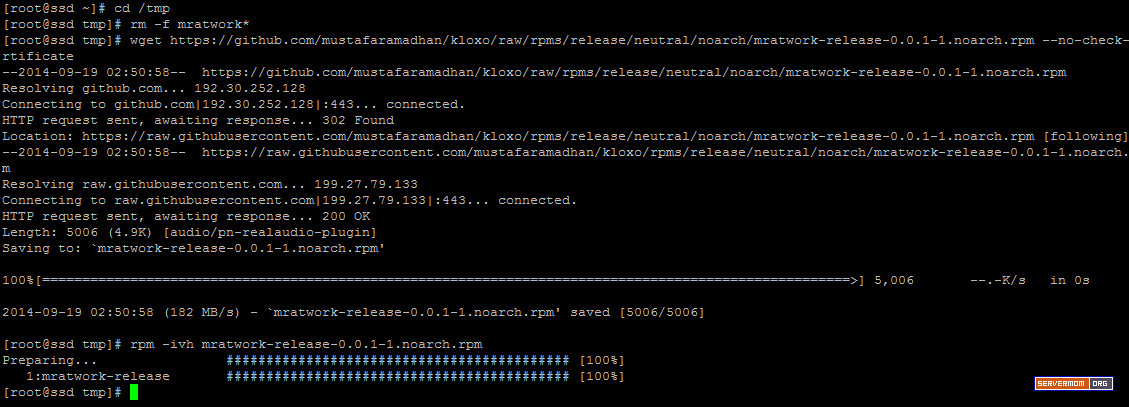
1
| cd /tmp |
1
| rm -f mratwork* |
1
2
| wget https://github.com/mustafaramadhan/kloxo/raw/rpms/release/neutral/noarch/mratwork-release-0.0.1-1.noarch.rpm --no-check-certificaterpm -ivh mratwork-release-0.0.1-1.noarch.rpm |
1
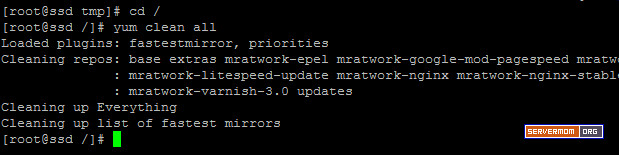
| cd / |
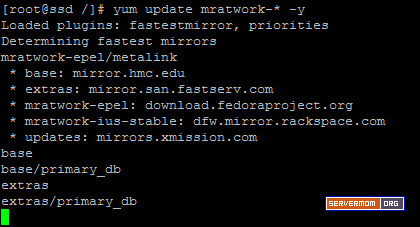
1
2
| yum clean allyum update mratwork-* -y |
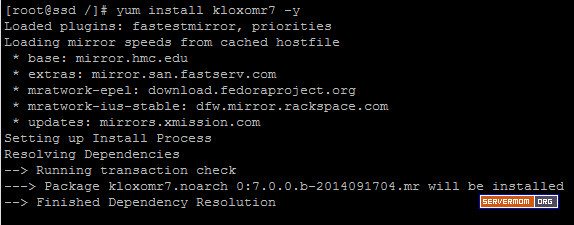
1
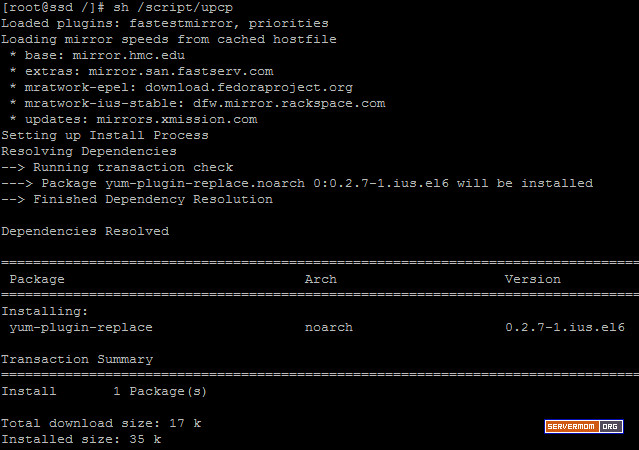
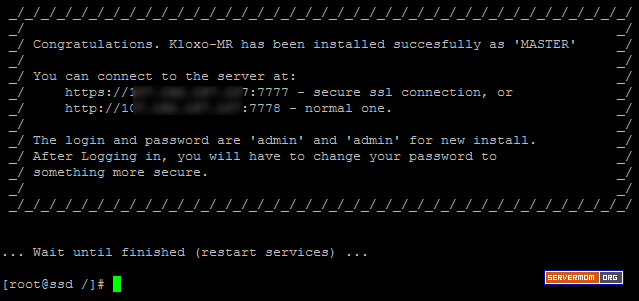
| yum install kloxomr7 -y |
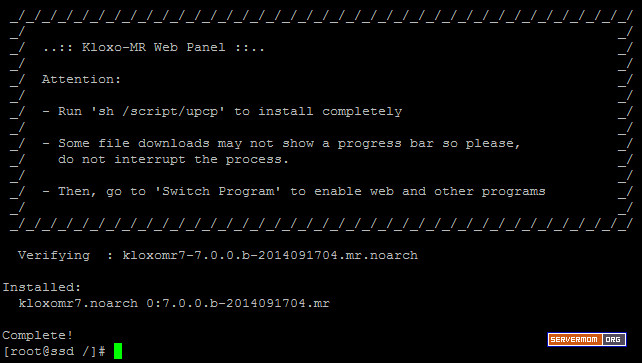
1
| sh /script/upcp |