What is Data Deduplication?
https://docs.microsoft.com/en-us/windows-server/storage/data-deduplication/overviewModel deployment:

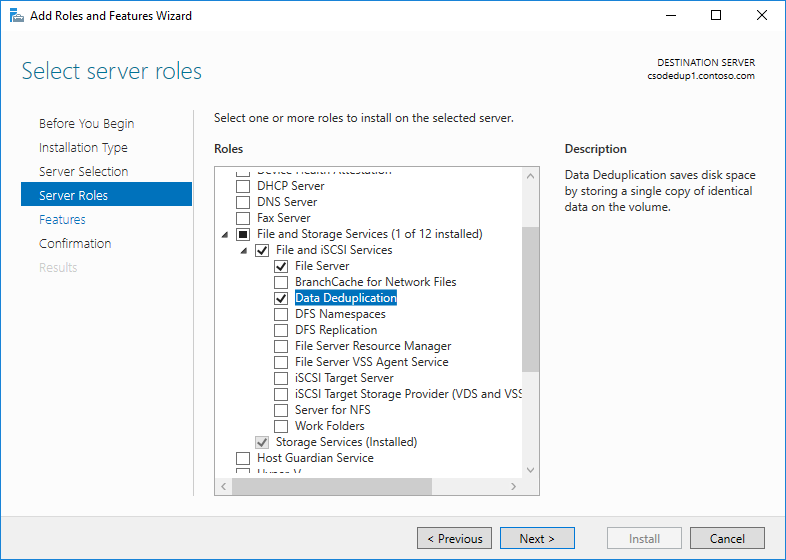
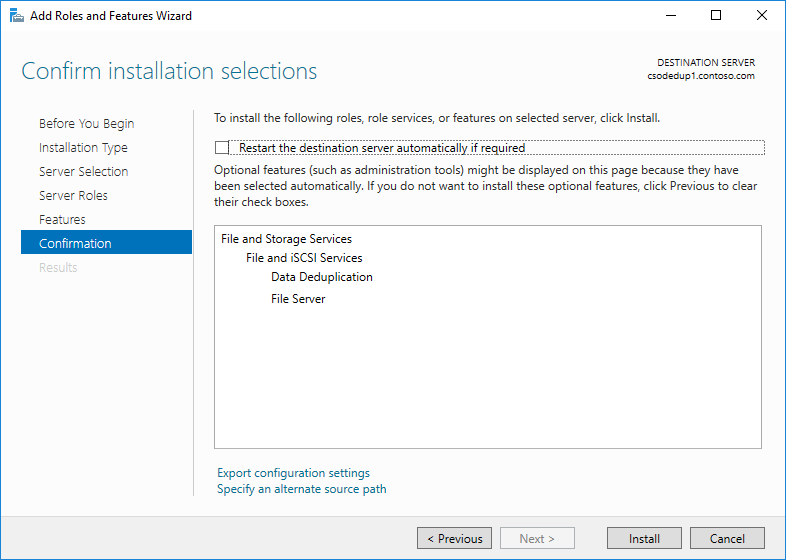
Install Data Deduplication
Install Data Deduplication by using Server Manager
1.In the Add Roles and Feature wizard, select Server Roles, and then select Data Deduplication.
Before enabling Data Deduplication, you must choose the Usage Type that most closely resembles your workload. There are three Usage Types included with Data Deduplication.
Default - tuned specifically for general purpose file servers
Hyper-V - tuned specifically for VDI servers
Backup - tuned specifically for virtualized backup applications, such as Microsoft DPM
1. Select Volumes from File and Storage Services in Server Manager
2. Right-click the desired volume and select Configure Data Deduplication.

- Deduplicate files older than
- Custom file extensions
- Add exclude folders