Adobe has updated his free "Acrobat Reader" for viewing, printing and annotating PDF's to "Adobe Reader DC", where "DC" means "Document Cloud". The Acrobat Reader DC gives you the ability to work with PDF documents in any desktop or mobile device
Adobe Reader DC is set to be automatically updated (if your device is connected to the Internet), to ensure that cloud and desktop features and functionality remain synchronized and compatible. For that reason, Adobe, doesn't give the user the ability – through the program's interface – to choose how the new updates will be delivered to the computer or to totally disable the Adobe Reader DC automatic updates.
In this tutorial you 'll find detailed instructions on how to totally disable or turn off Adobe Reader DC Automatic Updates.
Method 1. Disable Adobe Acrobat Update Task.
The first step to disable the Automatic Update in Adobe Reader is to disable the 'Adobe Acrobat Update Task' in Task Scheduler. To do that:
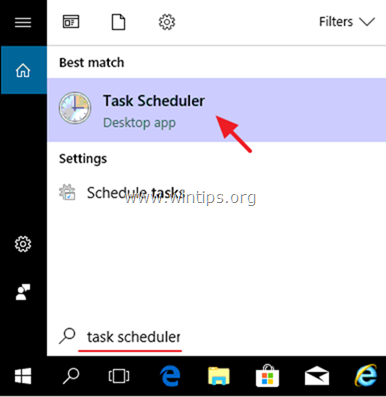
1. At the search box, type: task scheduler
2. Open Task scheduler

Method 2.1. Disable Adobe Acrobat Reader DC Automatic Update through Services.
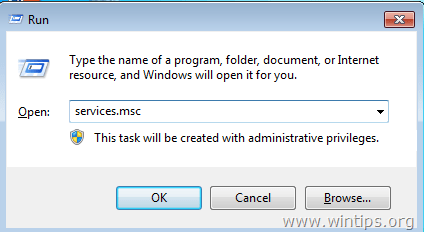
1. Press Windows + R keys .
2. In run command box, type: services.msc and press Enter.
3. Double click to open "Adobe Acrobat Update Service" properties (AdobeARMservice).
4. Set the Startup type to Disabled.
5. Click OK and restart your computer.

– After following the above steps, Adobe Reader DC will not download and install updates automatically.
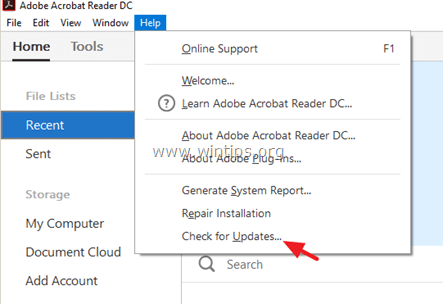
– If you want to download and install new updates manually, then, from Adobe Reader's DC menu, choose: Help > Check for Updates. *
* Note: If you want to also remove the Check for Updates option, from the Adobe Reader's DC menu, then follow the steps mentioned at the end of this article.
Method 2.2 Disable Adobe Reader DC Automatic Updates via Registry.
1. Open Windows Registry Editor. To do that:
1. Press the Windows + R keys to load the Run dialog box.
2. Type regedit and press Enter.

2. At the left pane, navigate to this key:
HKLM\SOFTWARE\Wow6432Node\Adobe\Adobe ARM\Legacy\(product name)\(product code)
e.g. HKEY_LOCAL_MACHINE\SOFTWARE\WOW6432Node\Adobe\Adobe ARM\Legacy\Reader\{AC76BA86-7AD7-1033-7B44-AC0F074E4100}

3. At the right pane double click at Mode value* and at the Value Data box, change the value data from 3 to 0 (zero).
Mode possible values:
0: Do not download or install updates automatically.
2: Automatically download updates but let the user choose when to install them.
3: Automatically download and install updates. (Default value)
4: Notify the user downloads are available but do not download them.

4. Close Registry Editor and restart your computer.
– From now on, Adobe Reader DC will not download and install updates automatically but you can always install the new updates manually, by choosing the Check for Updates option in Adobe Reader's DC main menu. (Help > Check for Updates) *
* Note: If you want to remove also the Check for Updates option, then follow the steps below.
Extra: Remove the "Check for Updates" option from Adobe Reader's menu.
– If you want to remove the "Check for Updates" option from the "Help" menu, then:
1. Launch Registry Editor again and navigate to this key:
HKEY_LOCAL_MACHINE\SOFTWARE\Policies\Adobe\Acrobat Reader\DC\FeatureLockDown
2. Right click at an empty space on the right pane and select New > DWORD (32-bit) Value.

4. Double click at the bUpdater value and set the Value Data to 0 (zero).

5. Close Registry Editor and Reboot your computer.